
Background: The Signings Tab is where you set up in-person and remote signings, as well as initiate in-person signings. This guide will walk you through the basic setup of uploading PDFs to sign directly to the SecureClose V3 Application. If you are interested in using our Print Driver Client, SecureClose Connect, please see that guide separately.
1. Click on the Signings Tab. Since signings contain customer information, the first time you log in in a session, you will be required to input your unique 4-digit PIN to view this page. If you don’t know your PIN, click on Your Name in the bottom-left side of the screen. This will take you to your user settings screen, where you will see a section marked PIN. Click on the View Icon, and it will reveal your PIN. Enter this on the Signings Screen to proceed.


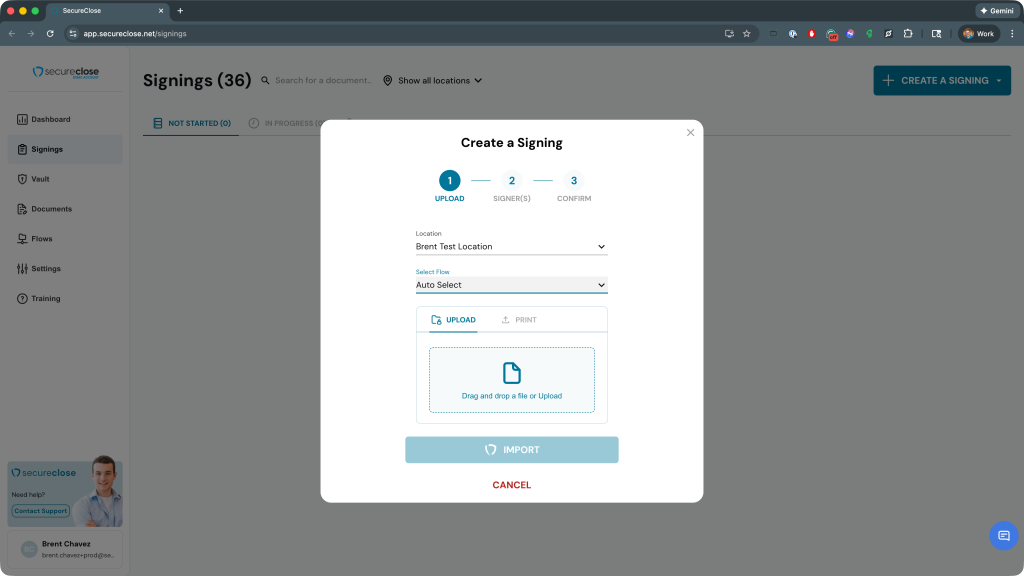
2. Create a Signing – Once you have successfully entered your PIN, you can click on the + Create a Signing button on the top-right. If you intend to upload a document that you have already programmed and is part of your document library, choose Upload Documents. If you are starting with a document that is not currently programmed or part of a flow, you can choose the Start from New Document option. I am going to select Upload Documents.

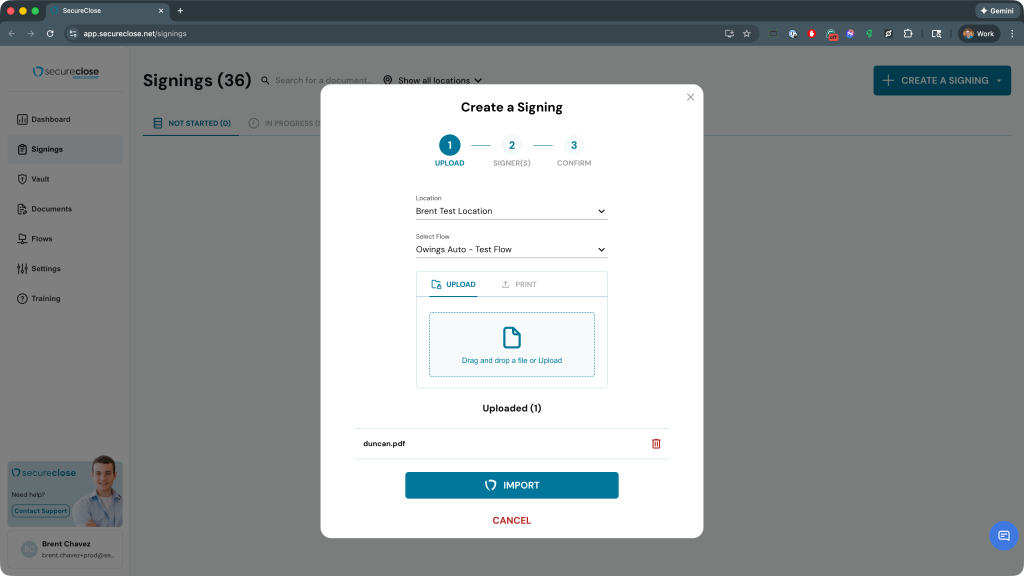
3. Upload your Document(s) – If you have multiple locations available to your user name, first select the Location that you want this signing to apply to. Make sure you select the location that the document and flow you are using belong to. Once you have selected the location, you also have the option to manually select the Flow you intend to you, or allow the system to choose by leaving it set to Auto-Select. Drag and drop your file into the upload field, or click on the Upload field itself to navigate on your computer for the file. Once selected, click the Import button.
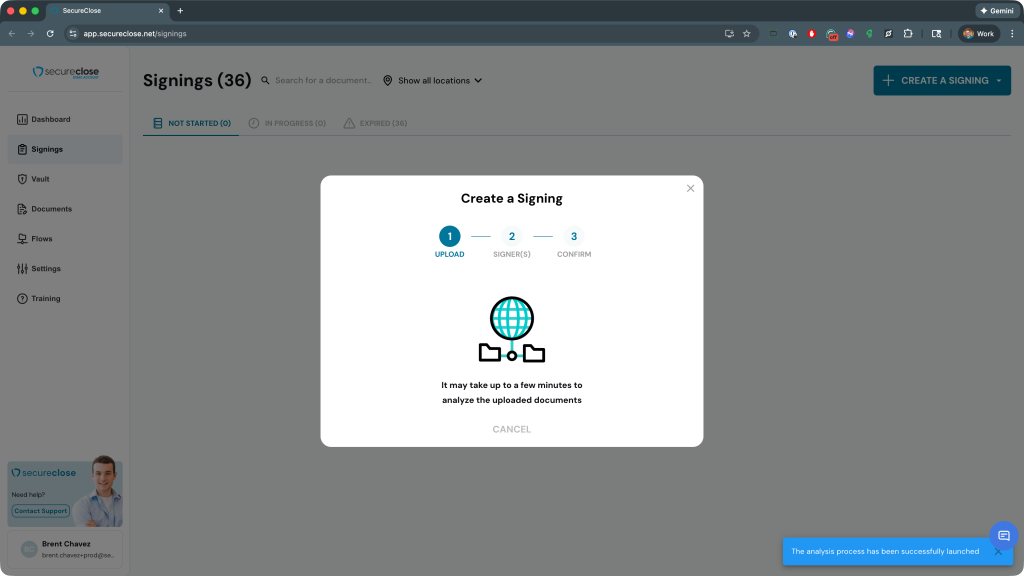
4. Document Analysis – Now that you have uploaded the document, SecureClose will attempt to read the document’s content to discern what potential Signer Names and Vehicle Information can be read on the documents.
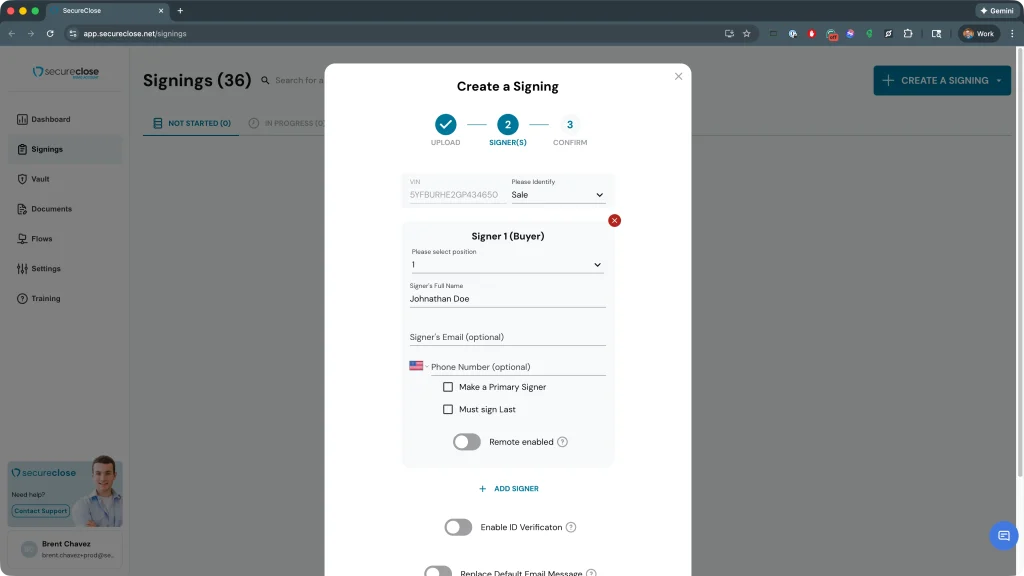
5. Confirm Signer(s) and Vehicle(s) – Once the analysis process is completed, SecureClose will present you with a list of VINs and Signer Names found in the documents. If multiple VINs are found, please confirm which is the VIN for the Sale/Lease Vehicle, and which is the VIN for any Trades if applicable.
Confirm your first signer’s Full Name and Email Address. You can also optionally add their phone number if you’d like. There is also a + Add Another Signer button you can use if you’d like to add additional signers to this signing Not found in the analysis. For each signer, you can choose whether their position in the signing (For example, the signer information in Position 1 will action all items marked with Signer 1 widgets in the documents), as well as who will Sign Last. If you have a number of signers on your session, they are able to sign in any order and don’t have to sign sequentially, but this toggle allows you to determine which of the signers must sign last if you’d like.
Remote Enabled – If this toggle is set, it will email the signing to the address provided so that the signer can complete it at home! If this option is not toggled, the system will store this as a signing to be completed in person at your location. Please Note – You can mix and match remote and in-person signings depending on where your signers are! For example, if your primary signer is at your location, but your signer 2 is remote, simply set the Remote Enabled toggle for the second signer! Once all information is entered, click on the Confirm and Start Now button.
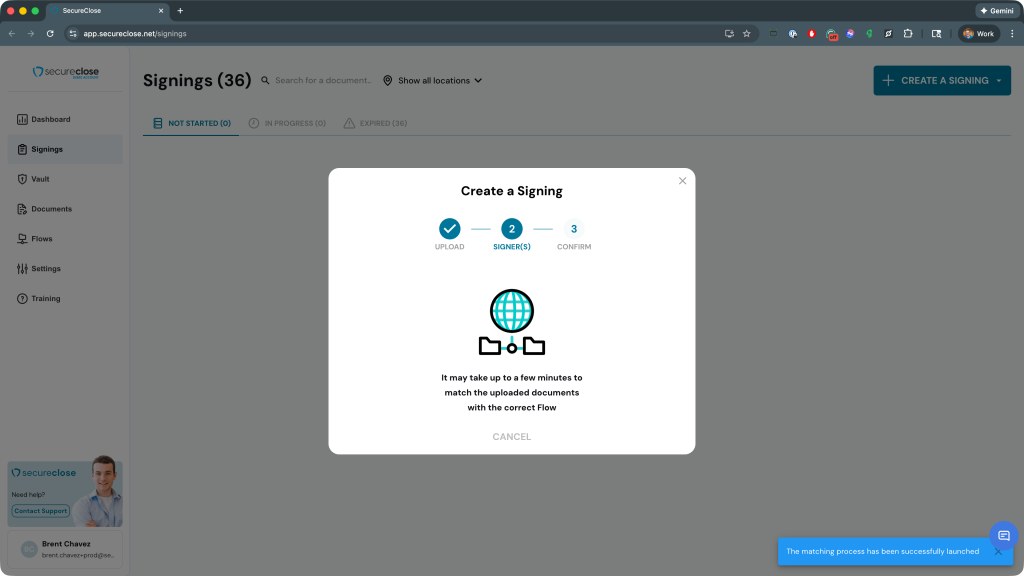
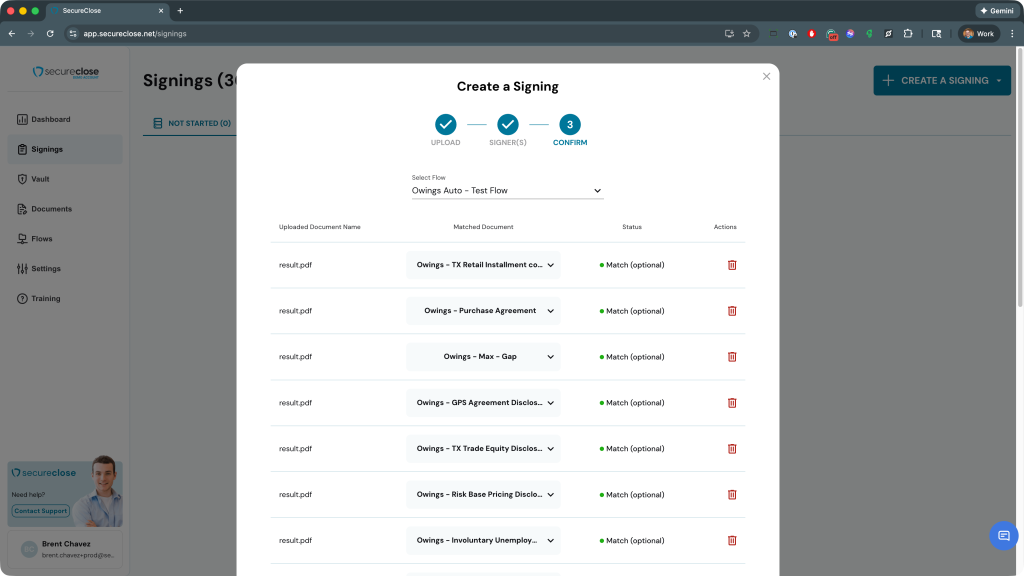
6. Confirm the Document and Flow – The system will then work to review the content and formatting of the documents submitted to ensure they are properly matched to the correct templates. Once your document and flow are identified, SecureClose will display all of the documents in that matched flow. It will display which document(s) your upload was matched to for your confirmation, as well as showing any Required documents that may be missing. In the Left column, clicking on any pdf named Result.pdf will open a preview of that file so that you can view it. The middle column displays the corresponding Template the system matched it to. If any are incorrect, please use the dropdown in the middle column to correctly identify the file.
7. Start In-Person Signing – Since my signing was created as an In-Person signing, I can now click the Start button in the appropriate signing field.
Please Note – In some Dealership scenarios, you may want the signing to take place on a separate computer from the one it was created on. If this is the case, we encourage you to sign into that computer with an account that has Sign Only permissions to ensure that your customers have no access to any other part of your account.

8. Start Signing – Next we will walk through the Signer Experience in SecureClose V3 – That guide can be found HERE.

