Using SecureClose NEXT
This guide will show you how to use the SecureClose NEXT Web Application. It will guide you from entering a SecureClose Presentation ID, through the customer presentation, to printing the documents.
PreRequisites:
1. The computer should have the SecureClose NEXT shortcut setup on the desktop.
2. The Computer should have the Topaz Web Driver installed.
3. The Computer should have Google Chrome and the Screen Capture Plugin installed.
4. SecureClose NEXT uses the system microphone to capture both the Customer and Avatar Audio, and will not work with headphones.
*NOTE* To Comply with the Federal Truth In Lending Act, customers must be provided with a printed copy of their Retail Installment Contract or Lease before they begin the SecureClose process.
1. Generate a SecureClose Presentation ID in your DMS, or through SecureClose Connect.
Follow the steps provided by your DMS to generate a Presentation ID in SecureClose, or use SecureClose Connect.
2. Use the SecureClose NEXT Shortcut to Launch the Web Application
![]()
Double Click on the Shortcut icon to launch the SecureClose NEXT Web Application in Google Chrome.
3. Log In

Using the Credentials given to you by SecureClose or by your account administrator, enter your Username and Password.
4. Main Menu
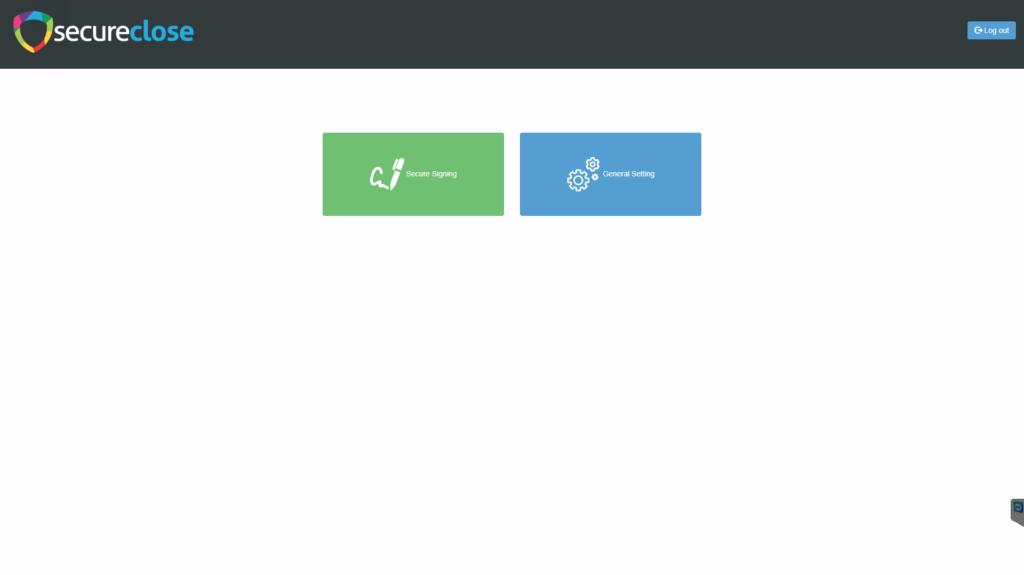
Once logged in, you will see the Main Menu. If this is your first time running SecureClose NEXT, or if your browser cache has recently been cleared, you may need to attach an Access Key. To do this, click on the General Settings Tile.
5. Select Access Key
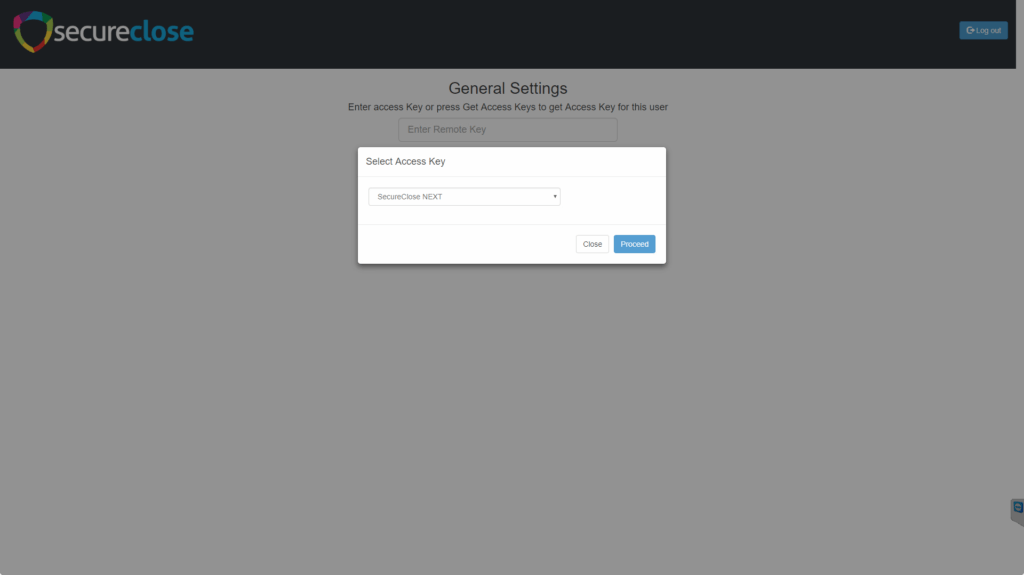
In the General Settings Menu, click on the Get Access Keys button. You will see a popup menu with a list of available access keys. Select the SecureClose NEXT Access Key and click on Proceed.
6. Choose Presentation Language
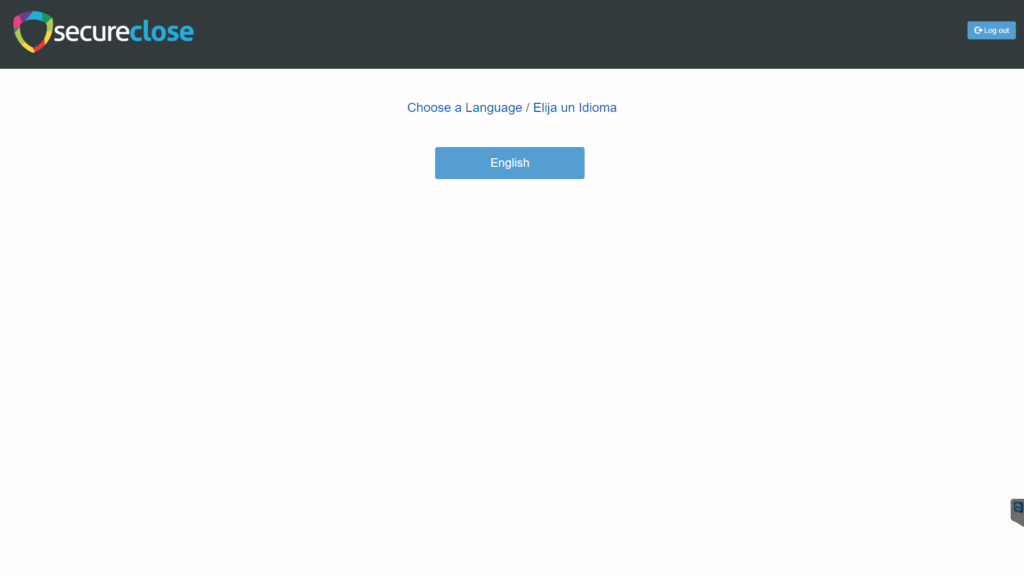
If Multiple Languages are available to your account, you will select the language the buyer would like the presentation displayed in.
7. Enter Presentation ID
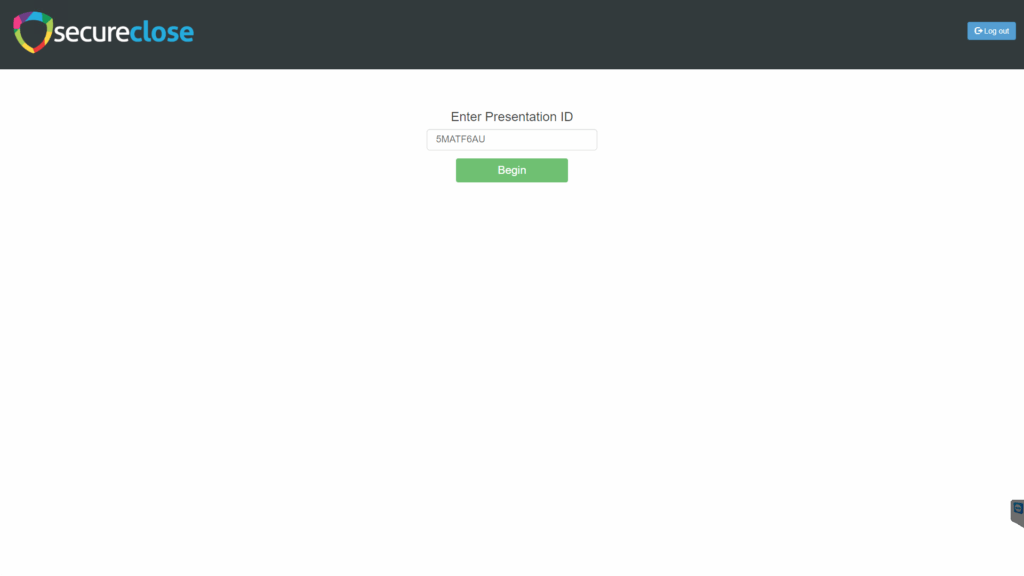
Once the Language is selected, you will be asked to enter in the Presentation ID that you generated in your DMS or SecureClose Connect. You may type in the ID or paste it from your clipboard using CTRL+V (Right Clicking is disabled in SecureClose NEXT).
8. Select Dealer Representative
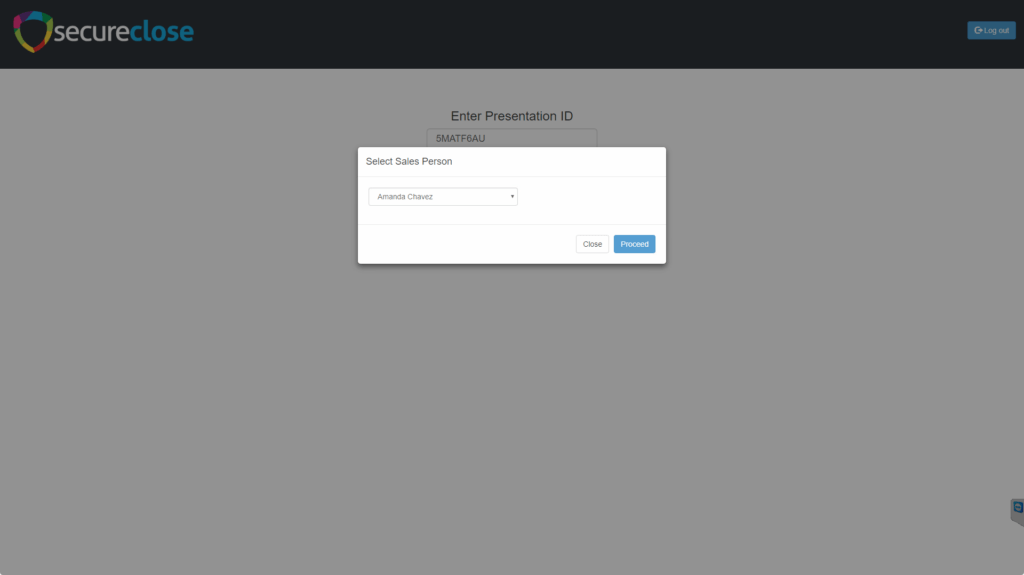
You will be asked to select the Dealer Representative from a dropdown list of users within your account. This is simply for internal tracking purposes to keep a record of who in your company acted as the company representative.
9. Customer Consents to Audio and Video Capture
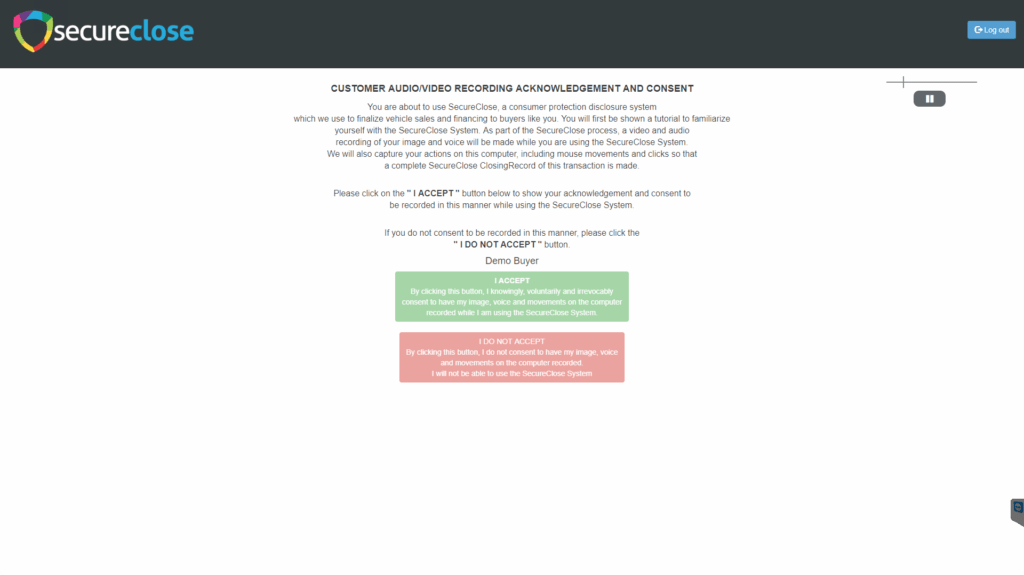
All Buyers / Lessees will be asked to consent to the audio and video recording of both the screen and the webcam while they use the SecureClose process. If they decline this permission, the presentation will be cancelled and they will be returned to the main menu.
10. Customer Consents to Conduct Business Electronically
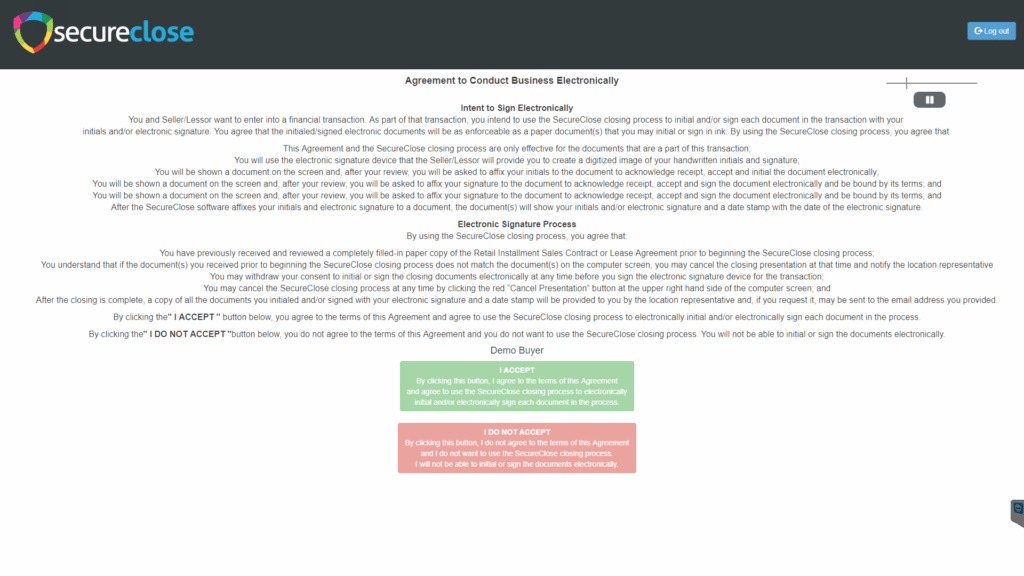
All Buyers / Lessees will be asked to consent to conduct business electronically using the SecureClose process. This explains their rights and responsibilities with this process, and how signing electronically holds the same validity as if they signed in wet ink. If they decline this consent, the presentation will be cancelled and they will be returned to the main menu.
11. Agree to Share Screen with Chrome
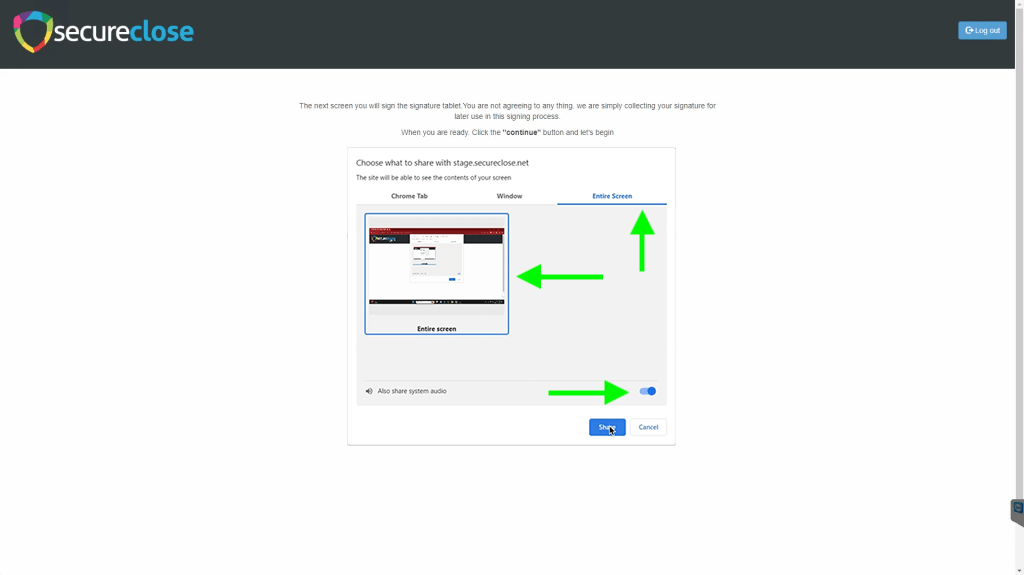
SecureClose NEXT uses Google Chrome’s built-in controls to share and capture the screen during the closing process. Since this is an internal control, your dealer representative will be asked to Share the screen each time. Please click on the Entire Screen tab, then click on the Entire Screen window, followed by the Also Share System Audio toggle before clicking the Share button.
12. Hide the Screen Share Banner
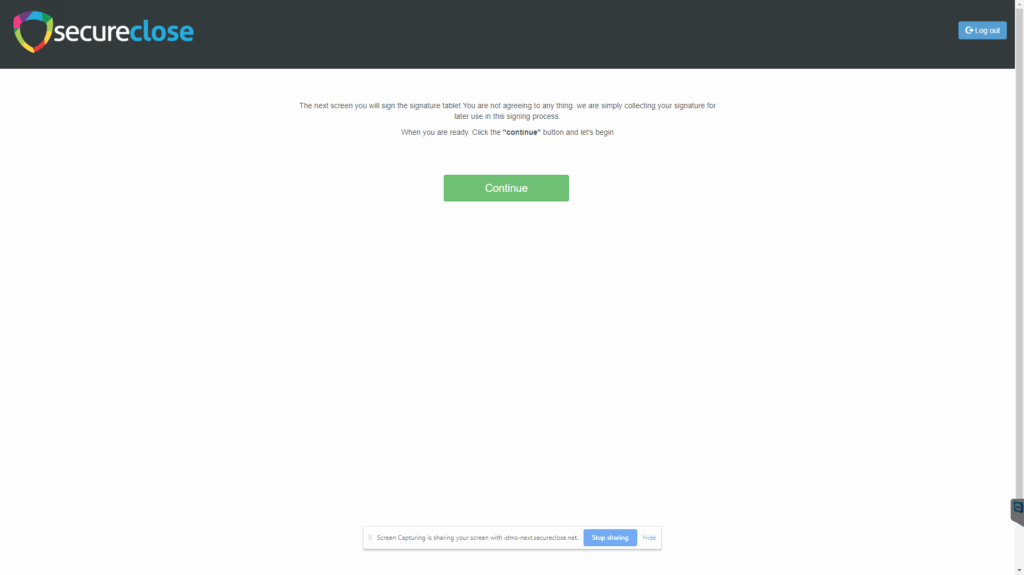
Once screen share authorization is given, the banner shown above will display on the screen. For the best experience, please have your dealer representative click on the Hide button each time.
*NOTE If the customer clicks on the Stop Sharing button, chrome will immediately discontinue the screen capture without notice, and the SecureClose Closing Record will be incomplete. Please make sure this banner is hidden once consent is given. Should the customer decide they no longer want to be captured in the SecureClose Process, they will click the Cancel Presentation button to discontinue the process.
13. Customers Gives Signature and Initials
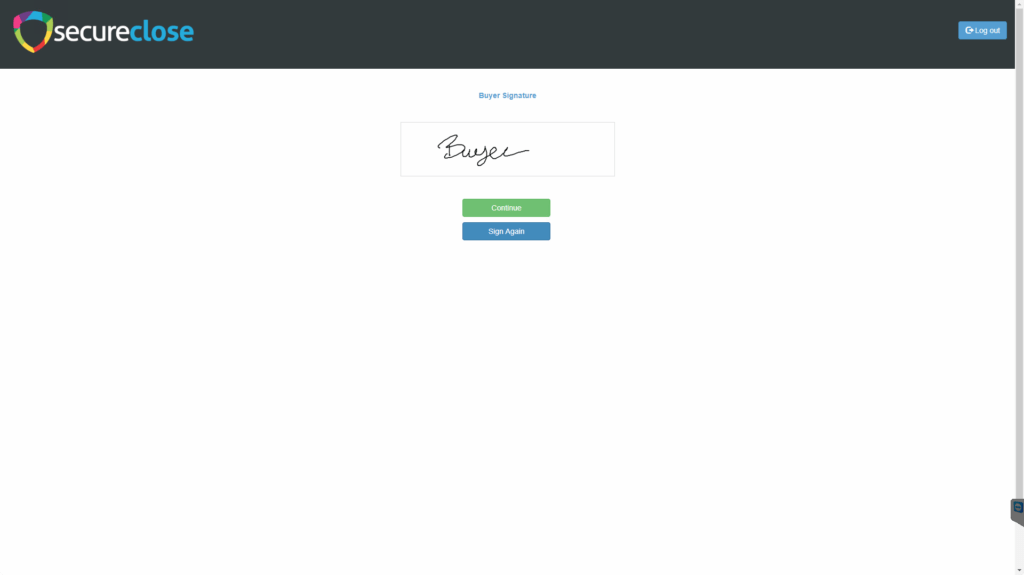
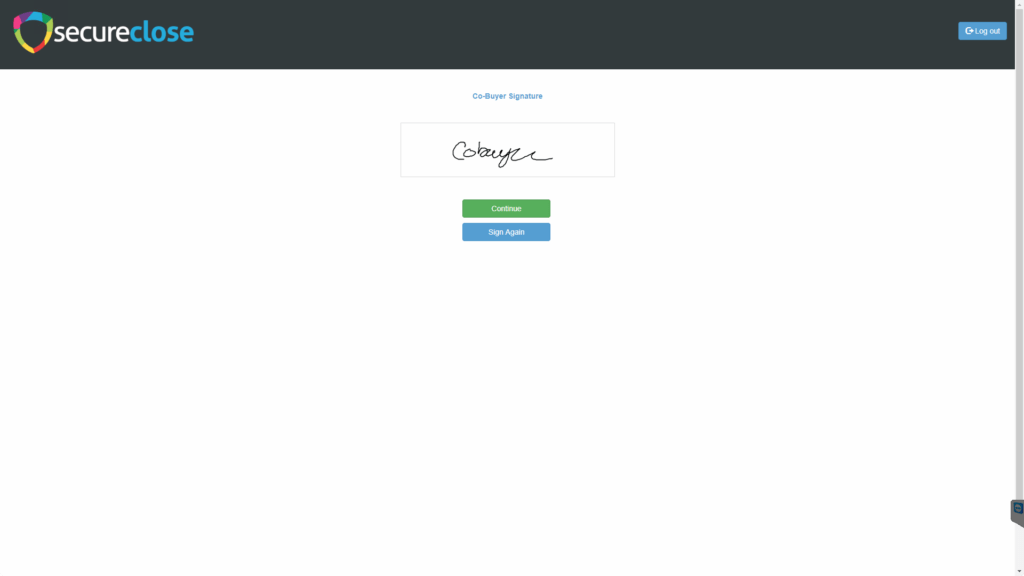
Buyer and Cobuyer will sign the signature tablet to capture their Signatures and Initials. These will be held in memory until they command the system to add them to the displayed document.
14. Dealer Gives Signature and Initials
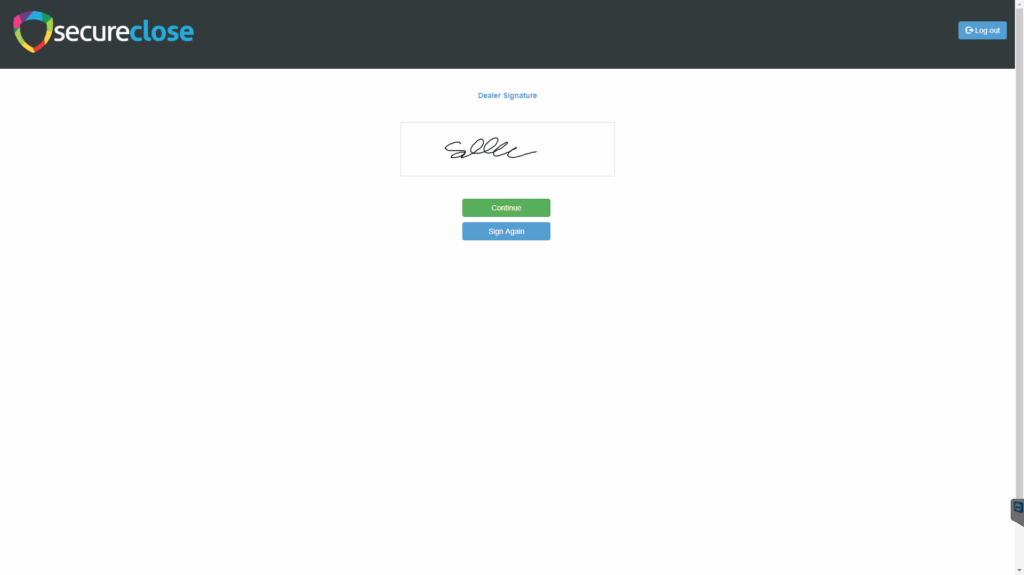
The Dealer Representative will be asked to give their Signature and Initials as well.
15. Approve Signatures and Initials
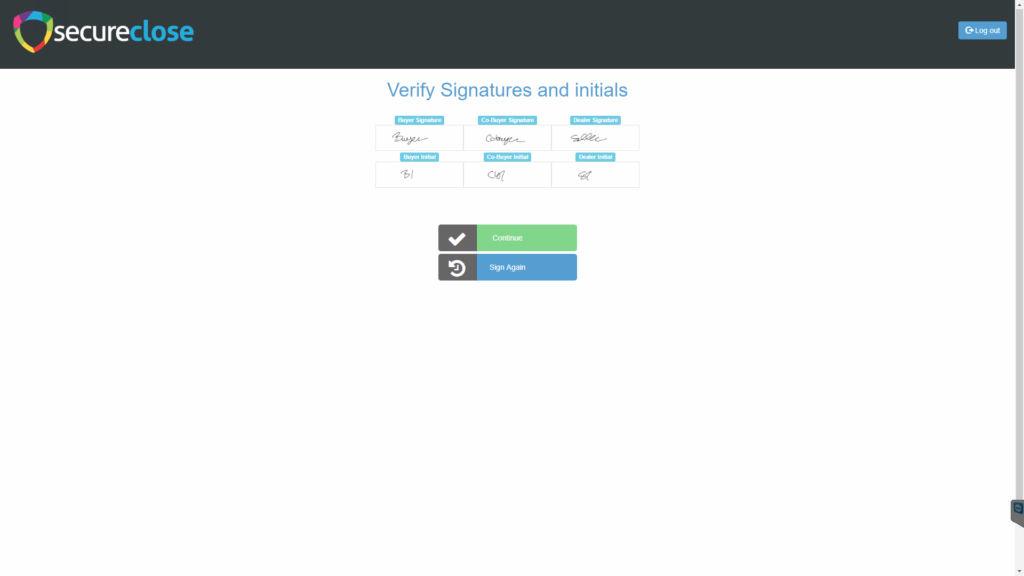
Once all signatures and initials are captured, they will be displayed on the screen for approval. Please make sure that all are correct, and if there is any issue, select the Sign Again option.
*NOTE- Once all signatures and initials are approved, the Dealer Representative will click Continue. At this point, the Dealer Representative can leave the room and the Customer will complete the process on their own.
16. Customer Views Tutorial
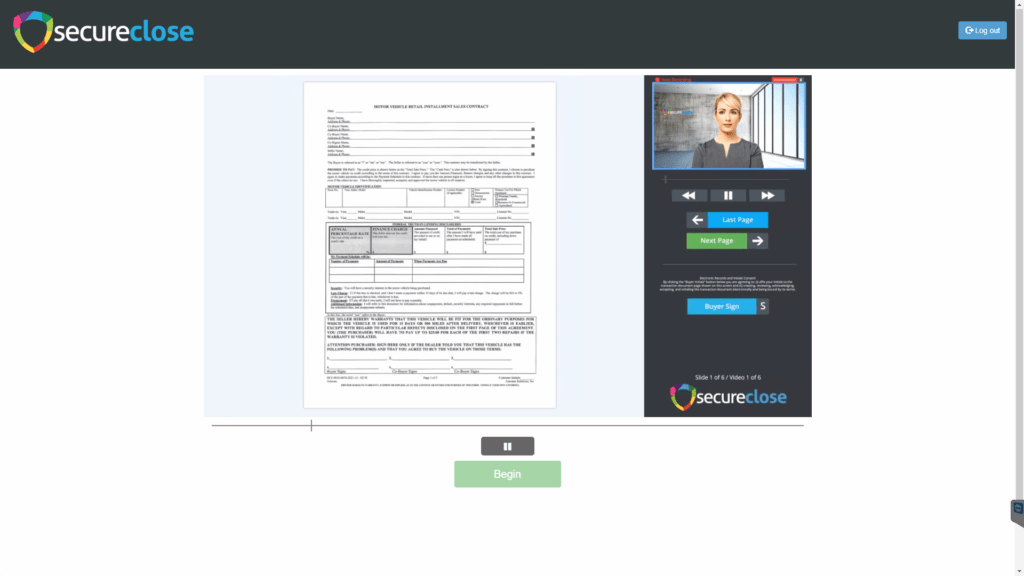
The Customer Tutorial is displayed which will walk the customer how to use the SecureClose NEXT web application. It will explain the layout of the screen and controls, and how they interact with it.
17. SecureClose Presentation
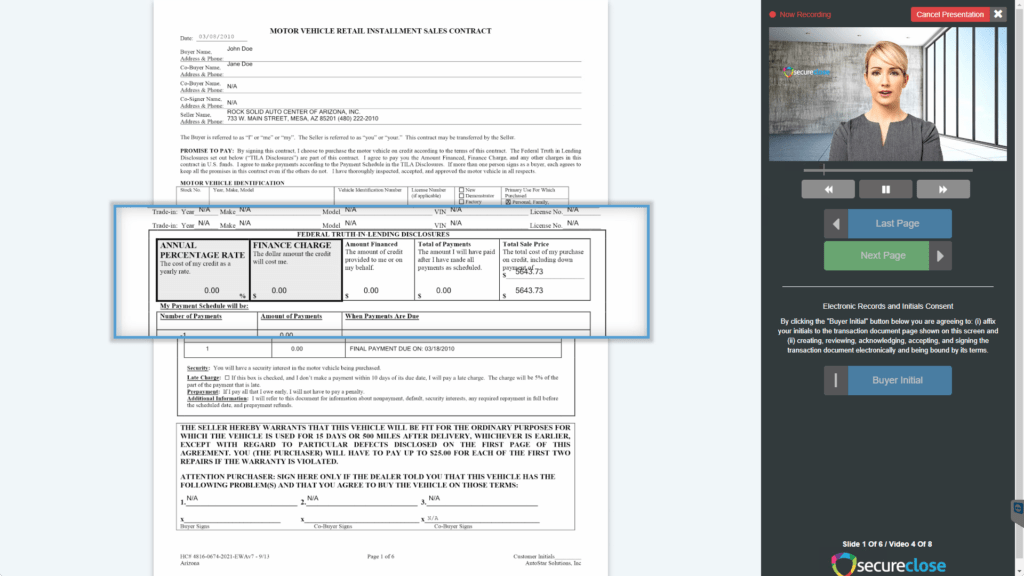
Each Document that is part of the presentation will be displayed for the customer on the left side of the screen while our Virtual Closer explains them on the right. The customer can use the mouse to hover over any portion of the document they would like to zoom in on. If any portion of the document has specific disclosure, it will be zoomed in on by the system to make sure they focus where intended.
18. Customer Adds Signatures and Initials
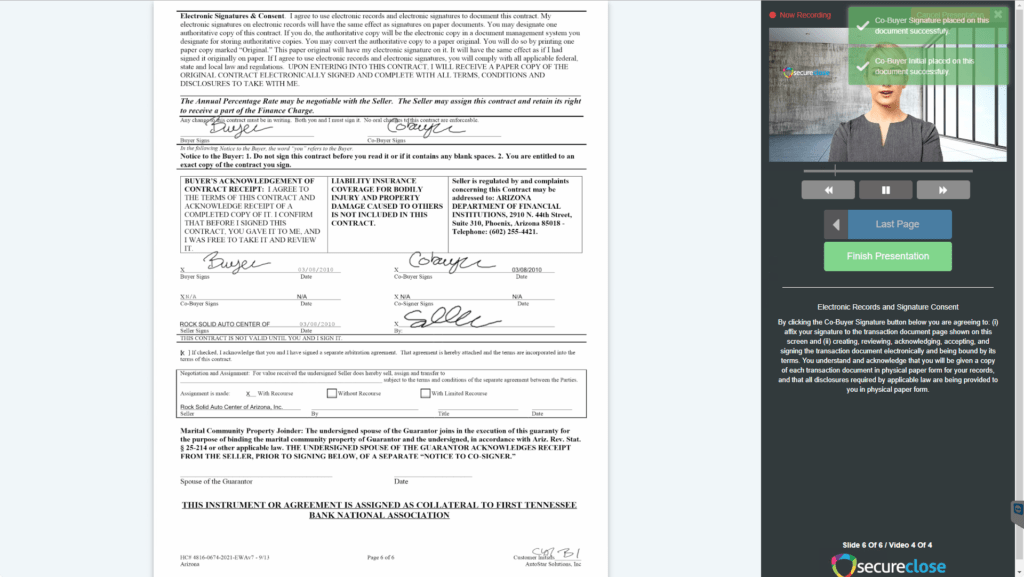
When all explanations for a page have been given, each Customer will have the opportunity to add their signature and initials as the page calls for it. Once all pages are complete, the Finish Presentation button will display.
*Note- The Dealer Representative signature and initials will be automatically placed everywhere they need to go!
19. Print Documents
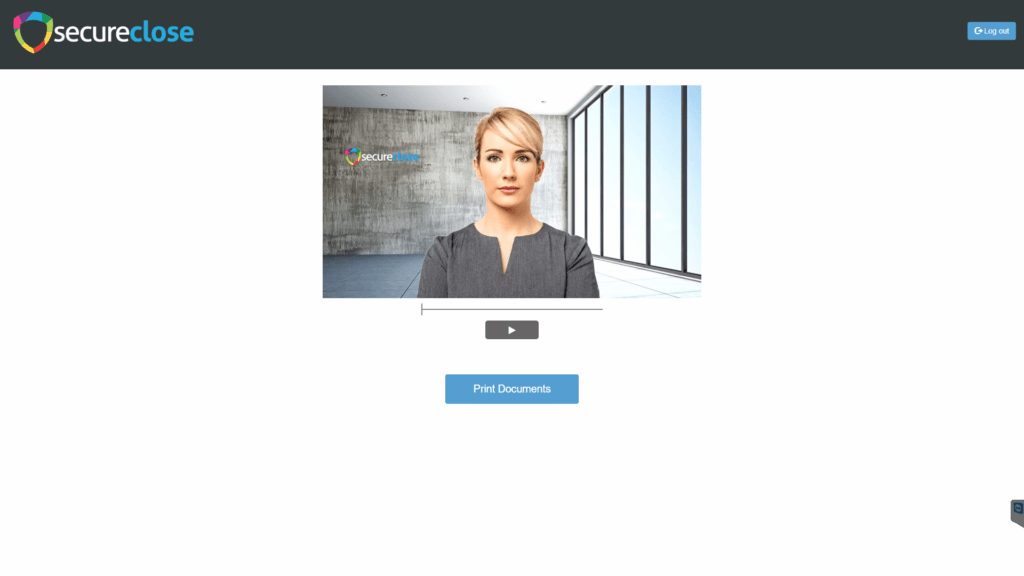
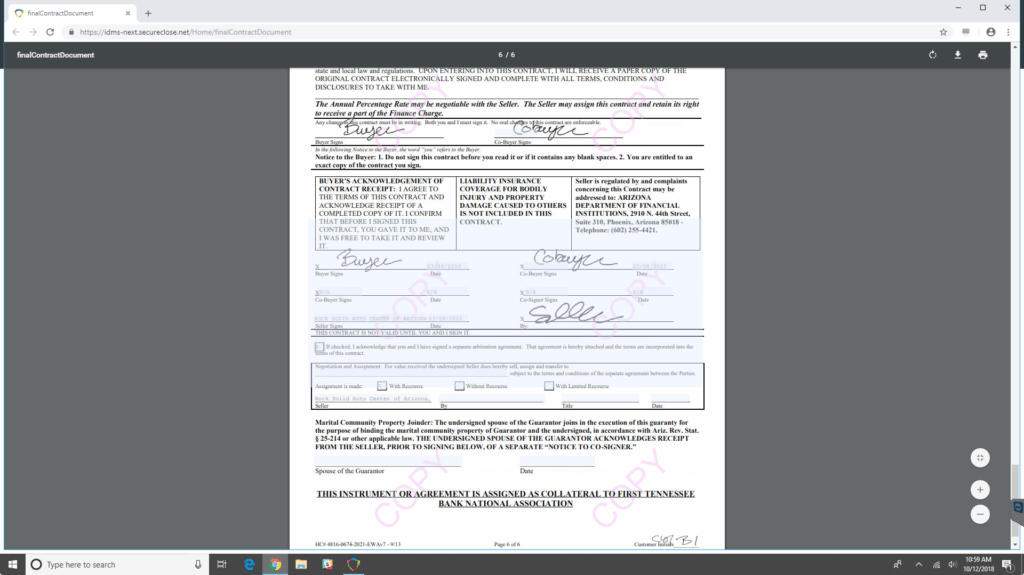
When all documents are signed, the customer will be prompted to ask the Dealer Representative to return to finish the process. The Dealer Representative will click on the Print button to display all signed documents in the browser.
20. Customer Saves Email
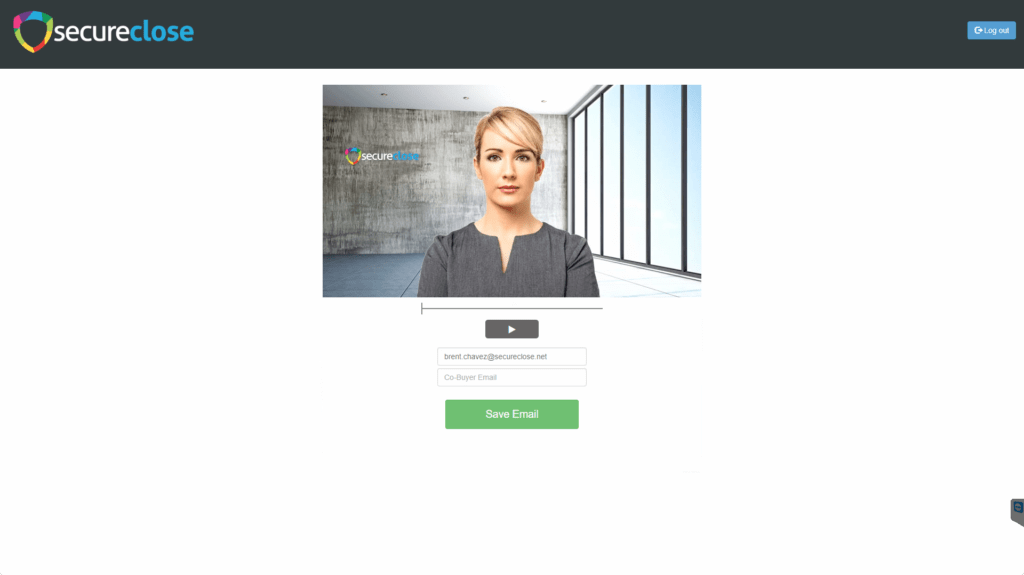
Once the documents are printed for the customer, SecureClose will ask them to enter in their Email address. Once completed, all signed documents, as well as the Closing Record Video, will be emailed to them once they are uploaded.


